 |
||
 |
||
CrashFix administration model uses the concept of project isolation. For example, users of project A may not know anything about resources of another project B.
Every project has associated quotas. The quotas define how many disk space the project may take.
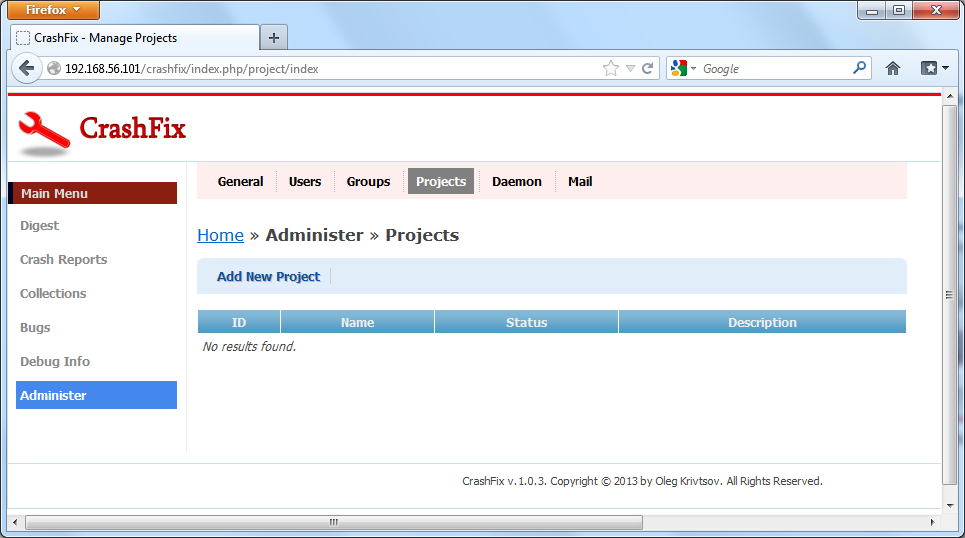
To manage projects, you need to log in under the root user or under another user having permission to access Administer panel. After you have logged in, click the Administer button on the Main menu. Administer panel appears. Click the Projects item on the top menu. The Projects page appears (shown in the figure below).

Administer Projects

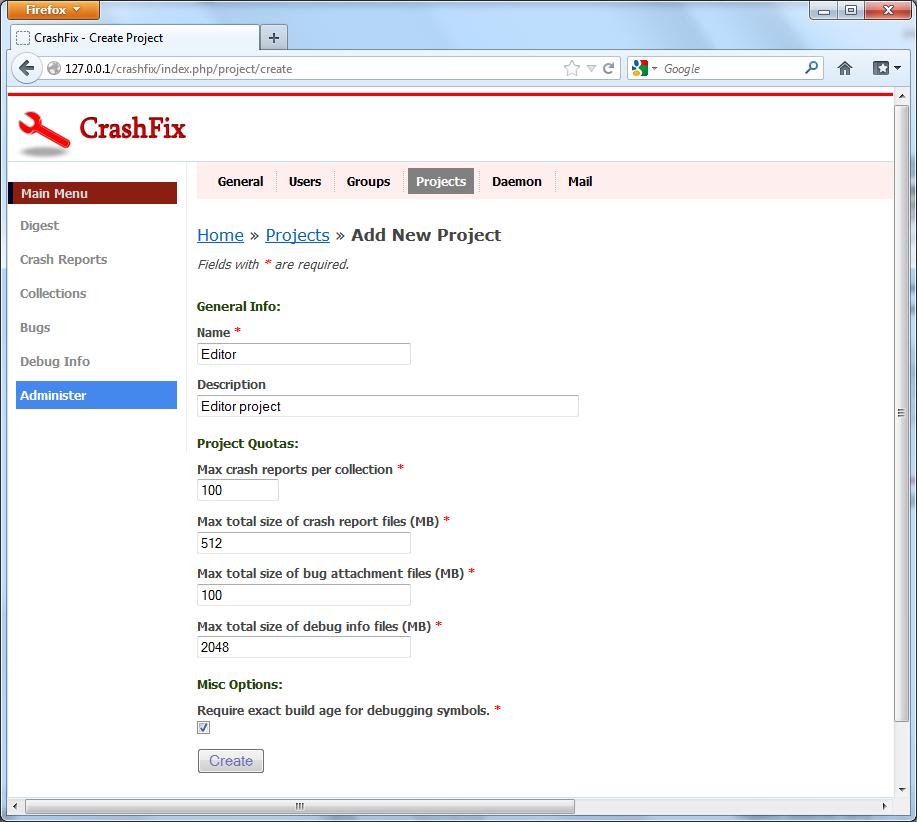
Add new project
Disk quotas can be modified as desired. For example, you can increase the quota for debugging symbols up to 100 GB by entering 102400 in the corresponding field. You can also enter 0 (zero) as a quota value do make it unlimited.
Under the Misc Options section, you can define the way CrashFix will search for matching symbol files for your project. Typically, a symbol file is considered matching if both its GUID and Age are equal to GUID and Age embedded into crash report's minidump file. If you want to load symbol file even if its build age does not match accurately, you can remove check mark from the Require exact build age for debugging symbols check box. After that, CrashFix will load the symbols even if their build age does not match accurately.
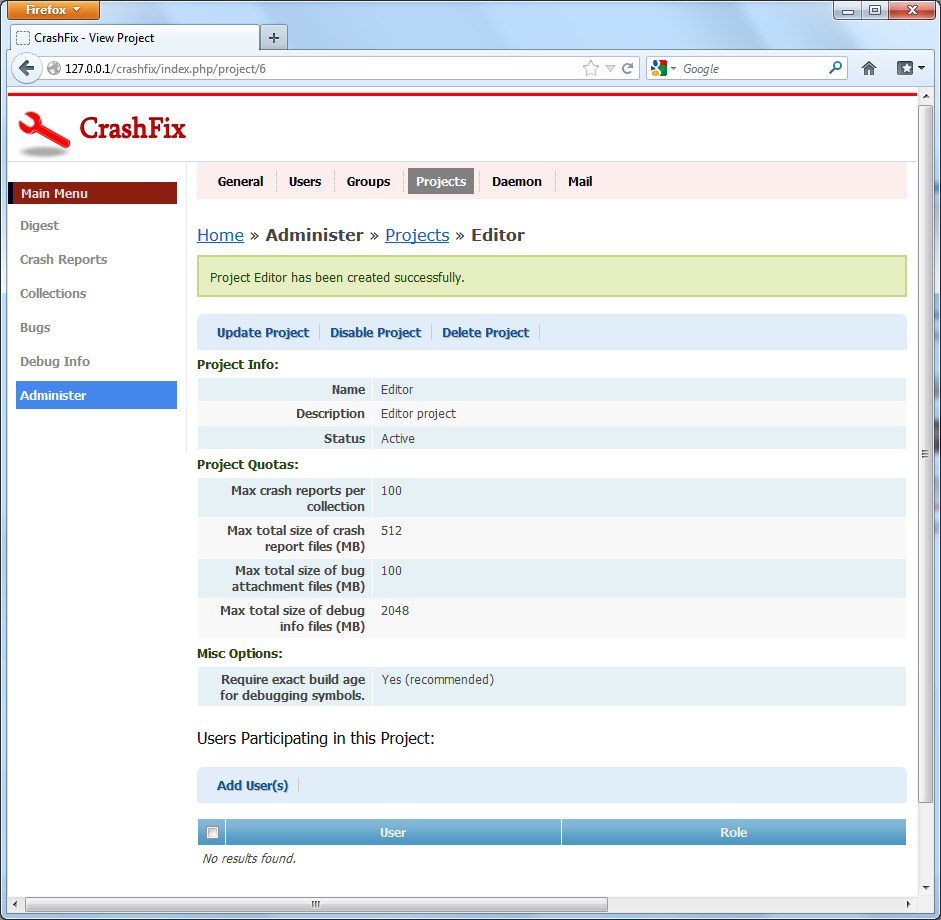
Next, click the Create button to create the project. The project details page appears (shown in the figure below).

Project details
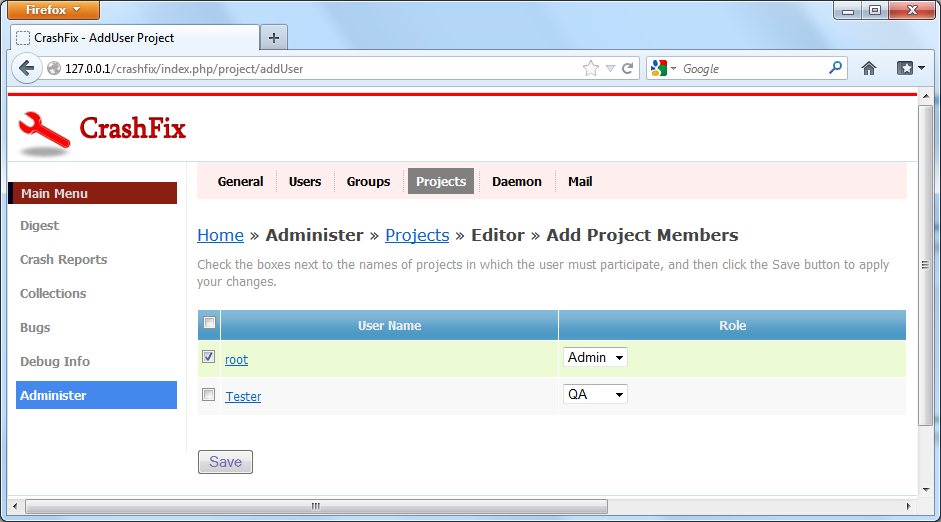
At the bottom of the project details page, you can see the Users Participating in this Project section. Here you can add users to project. To do this, click the Add User(s) button. The Add Project Members page appears (shown in the figure below).

Add user to project
Further reading: Daemon
 1.5.9
1.5.9